Development Kubernetes Docker CI/CD

![]()


Jenkins is a tool for Continuous Integration and Continuous Delivery and has a plugin for provisioning builds (slaves) cross a Kubernetes cluster.
The plugin kicks off every build in a new pod and tears it down when the build is complete. This means that every build is clean and reproducible. This is clearly something that we want in Kubernetes-On-ARM.
There is now support for multiple platforms with the relase of Kubernetes v1.3.0, arm and arm64 being two of them. There is also a side project: kube-deploy/docker-multinode that lets you setup a Kubernetes cluster in minutes, using docker.
Sloop - is my project that uses kube-deploy/docker-multinode for running Kubernetes “native”. You can read more about it in an earlier post Building your Kubernetes cluster in minutes. You’re more than welcome to check(it)out and give it a try.
v1.3.0 cluster with arm or arm64 nodes.The Jenkins master keeps state and needs a durable volume for storing
data about your builds. I highly recommend using something other than emptyDir or hostPath. I use a nfs volume.
I have created a Jenkins image: kodbasen/jenkins-arm and here’s a deployment you can use:
apiVersion: extensions/v1beta1
kind: Deployment
metadata:
  annotations:
  labels:
    run: jenkins
  name: jenkins
  namespace: default
spec:
  replicas: 1
  selector:
    matchLabels:
      run: jenkins
  template:
    metadata:
      labels:
        run: jenkins
    spec:
      containers:
      - image: kodbasen/jenkins-arm:2.7.1
        imagePullPolicy: IfNotPresent
        name: jenkins
        ports:
        - containerPort: 8080
          protocol: TCP
          name: web
        - containerPort: 50000
          protocol: TCP
          name: slaves
        volumeMounts:
        - mountPath: /var/jenkins_home
          name: jenkinshome
      volumes:
      - name: jenkinshome
        persistentVolumeClaim:
          claimName: jenkins
I’m using a persistentVolumeClaim: named jenkins. I leave it up to you to sort out your volume configuration.
Next we need to expose our Jenkins deployment as a service:
apiVersion: v1
kind: Service
metadata:
  labels:
    run: jenkins
  name: jenkins
  namespace: default
spec:
  ports:
  - name: web
    port: 80
    protocol: TCP
    targetPort: 8080
  - name: slaves
    port: 50000
    protocol: TCP
    targetPort: 50000
  selector:
    run: jenkins
You should now have Jenkins up and running. Now check your Jenkins pod log and copy the first time password and head over to Jenkins to set it up, and while your there, install the Kubernetes plugin. Come back here when your done and I’ll show you how to setup the plugin.
The Kubernetes plugin uses a slave image and a pod-template so there´s
not much for you to configure. Follow the instruction on the plugin page but use kodbasen/jenkins-slave-arm image as Docker image.

In your build configuration you need to restrict where the build can be run. Set it to use your pod template label.

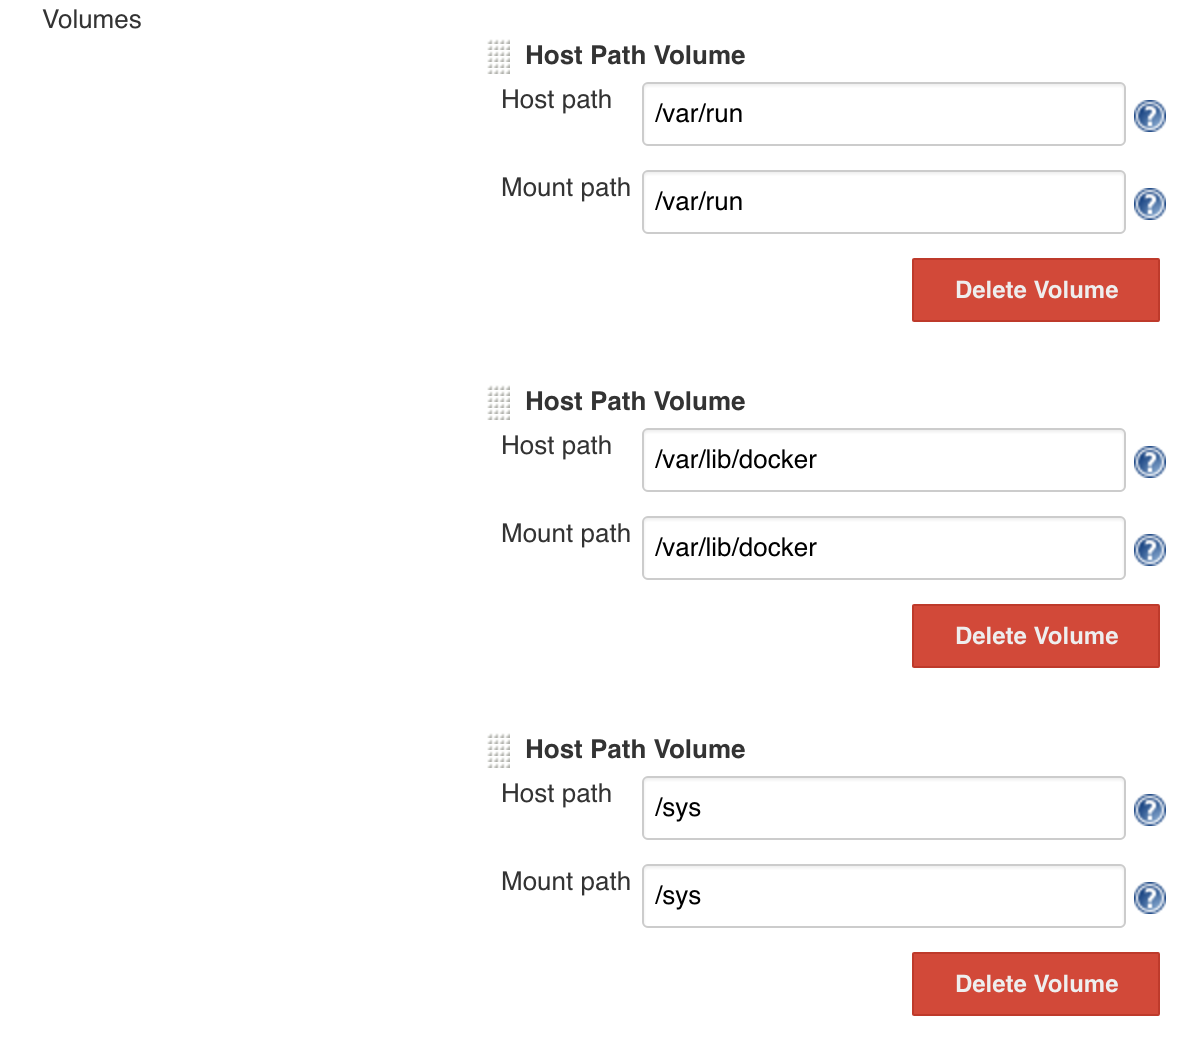
If you wan’t to run docker builds on Jenkins theres another slave image that you can use: kodbasen/jenkins-docker-slave-arm. This image includes the docker binaries and runs docker builds on the host where the pod is running. For this to
work you need to mount three hostPath volumes:

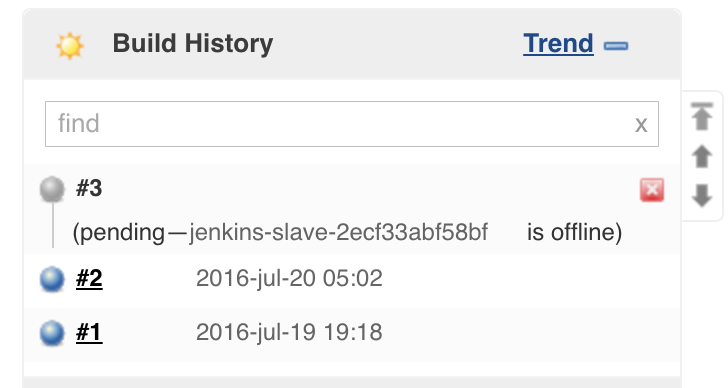
When running your build you’ll se the build pending while the slave is provisioned.

You can control which nodes should be used for running builds using a nodeSelector.
I’ve started moving all my builds from Drone over to Jenkins. If you decide to give Jenkins a try, and you’re using Sloop, let me know how it goes.
I hope you picked up something new, and that it was worth while reading this post.
26 Jul 2016 #Development #Docker #Kubernetes #Raspberry PI #ARM #ARM64 #Jenkins